Comment choisir le bon objectif pour réussir vos photos nightscape ?
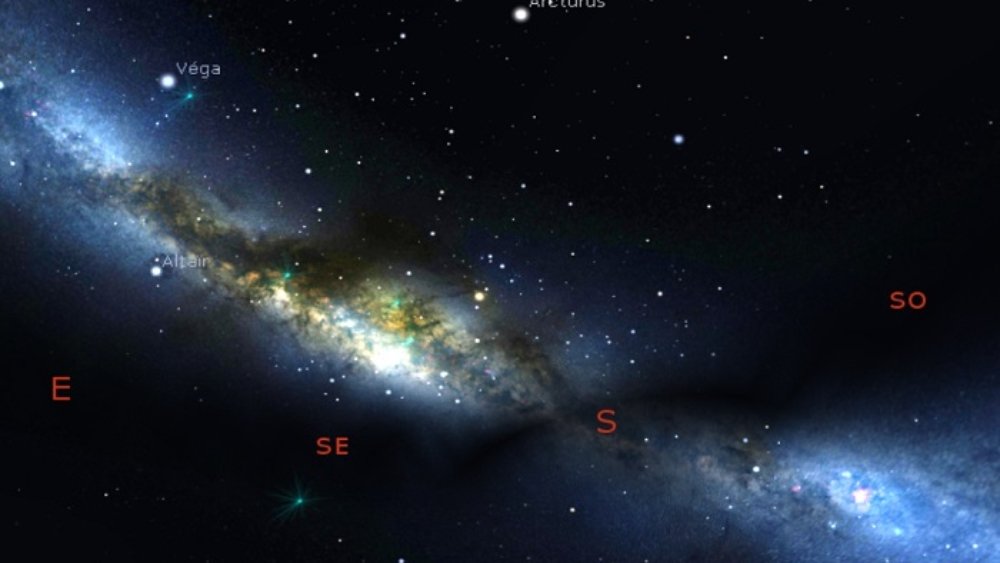
La photographie de paysages étoilés (ou nightscapes) est un art fascinant qui combine paysages, ciel profond, voie lactée et silence nocturne. Pourtant, c’est aussi l’une des disciplines les plus exigeantes de la photo. Si un objectif est performant en plein jour, il peut se révéler limité la nuit lorsque chaque étoile devient un point lumineux idéal pour révéler les défauts optiques.
Bien choisir son objectif est donc essentiel pour capturer un ciel propre, net et détaillé.
Pourquoi le choix de l’objectif est crucial en astrophotographie ?
En photographie nocturne, la lumière est très faible. On travaille souvent à pleine ouverture, avec des poses courtes pour éviter le filé des étoiles. Dans ces conditions, la moindre imperfection optique devient visible. Ce qui passe inaperçu en journée apparaît clairement sur un ciel noir parsemé de points très fins.
Les nightscapes mettent en avant trois critères essentiels :
- Luminosité (f/1.4 – f/2.8 idéalement)
- Netteté sur l’ensemble du cadre, surtout dans les angles
- Contrôle des aberrations optiques
C’est ce dernier point qui fait toute la différence entre une image exploitable et une photo inutilisable.
Les aberrations optiques les plus courantes en nightscapes
Avant d’acheter un objectif dédié aux paysages étoilés, il est indispensable de comprendre les défauts qui dégradent les étoiles.
1. L’aberration chromatique
Elle crée un halo coloré (souvent violet) autour des étoiles.
✔ Se corrige facilement dans Lightroom
✘ Mais mieux vaut un objectif qui en produit peu dès la prise de vue
2. L’aberration sphérique
Elle provoque un halo diffus autour des points lumineux.
Résultat : les étoiles apparaissent moins nettes et perdent leur piqué.
3. La coma
Le défaut le plus problématique en astrophotographie.
Les étoiles situées sur les bords prennent une forme de comète, avec une petite queue.
Un bon objectif pour nightscapes doit maîtriser ce défaut.
4. L’astigmatisme
Les étoiles deviennent elliptiques, voire en forme de « soucoupe ».
Ce défaut est particulièrement visible à grande ouverture.
Peut-on corriger ces aberrations ?
- Oui, en fermant un peu le diaphragme (de 1/3 à 2/3 de stop en général).
- Mais attention : fermer trop réduit la luminosité, oblige à monter les ISO, et peut augmenter le bruit.
Bonne nouvelle : l’IA change les règles du jeu
Les logiciels modernes de réduction du bruit (Lightroom AI, Topaz Denoise, DxO PureRAW…) ont révolutionné l’astrophotographie.
Il devient possible de :
- monter plus haut en ISO sans dégrader l’image,
- corriger efficacement le bruit numérique,
- récupérer beaucoup de détails sans perdre en qualité.
Cela signifie qu’un objectif moins lumineux mais mieux corrigé peut parfois produire de meilleurs résultats qu’une optique très ouverte mais pleine d’aberrations.
Comment choisir son objectif pour les paysages étoilés ?
Pour optimiser vos nightscapes, privilégiez :
✔ Une focale grand-angle
Entre 14mm et 24mm sur plein format (plus large pour inclure le paysage + voie lactée).
✔ Une bonne correction optique
La coma et l’astigmatisme doivent être bien maîtrisés.
✔ Une ouverture lumineuse
Entre f/1.4 et f/2.8 selon votre budget et vos préférences.
✔ Une construction robuste
Résistance au froid, à l’humidité, bonne bague de mise au point.
✔ Un test de performance réel
Le site lenstip.com est une référence pour analyser les performances optiques spécifiques aux nightscapes.
Mon expérience personnelle avec différents objectifs
Voici trois optiques que j’utilise régulièrement pour la photo de paysages étoilés :
- Samyang 14mm f/2.4 : excellent pour capturer la voie lactée dans son ensemble, bon rapport qualité/prix.
- Nikon 20mm f/1.2 : très lumineux, idéal pour inclure un premier plan fort.
- Nikon Z 35mm f/1.8 : parfait pour les compositions plus serrées, avec un ciel plus “propre”.
Aucun de ces objectifs n’est parfait :
→ chaque optique présente de légères aberrations
→ aucun objectif n’offre une correction absolue
→ mais tous produisent de superbes résultats grâce à un bon équilibre entre optique et post-traitement.
Je rappelle aussi qu’un objectif d’entrée de gamme, utilisé correctement et accompagné d’un bon débruitage AI, peut produire des images exceptionnelles tant que vous n’imprimez pas en très grand format.
Conclusion : le meilleur objectif pour les nightscapes est celui qui contrôle le mieux les aberrations
Pour réussir vos photographies de paysages étoilés, l’essentiel est de choisir un objectif capable de limiter les aberrations tout en restant suffisamment lumineux. Combinez une bonne optique, une mise au point précise et un débruitage moderne, et vous obtiendrez facilement des nightscapes nets, propres et riches en détails.
APS-C ou Full Frame : quel choix pour l’astrophotographie ?
La photographie de paysages étoilés (nightscape) attire de plus en plus d’amateurs comme de professionnels. Une question revient souvent : faut-il absolument un appareil photo full frame pour réussir ses astrophotographies, ou un APS-C peut-il offrir des résultats comparables ?
Contrairement aux idées reçues, la différence n’est pas aussi radicale. Grâce aux progrès du post-traitement et à des techniques comme l’empilement ou l’utilisation d’un tracker, un APS-C bien utilisé peut rivaliser avec un plein format dans de nombreuses situations.
Sensibilité ISO et bruit numérique : le vrai point de départ
En astrophotographie, on travaille souvent autour de 3200 ISO ou plus pour capter un maximum d’étoiles.
Voici les différences principales entre les deux formats :
✔ Full Frame (plein format)
- Gère mieux la montée en ISO
- Produit moins de bruit numérique
- Offre une meilleure dynamique dans les ombres
- Idéal pour les prises uniques ou les conditions difficiles
✔ APS-C
- Le bruit devient plus visible à haute sensibilité
- Moins performant en prise unique
- Peut néanmoins produire une image propre et détaillée avec les bonnes techniques
À première vue, le full frame semble donc gagnant… mais les outils modernes changent complètement la donne.
Un APS-C peut rivaliser avec un full frame grâce à l’empilement (Sequator)
Le logiciel Sequator est l’un des outils les plus efficaces pour réduire le bruit en astrophotographie.
Il permet :
- d’aligner les étoiles tout en conservant l’avant-plan intact,
- d’empiler plusieurs photos pour éliminer le bruit aléatoire du capteur,
- d’améliorer les détails et la propreté du ciel.
Le principe est simple :
Plus vous empilez d’images → plus le bruit diminue → plus les étoiles deviennent nettes.
Résultat : une photo finale issue d’un APS-C peut atteindre un niveau de propreté comparable à celui d’un appareil full frame.
C’est l’une des raisons pour lesquelles de nombreux astrophotographes débutants gardent leur APS-C et améliorent leur technique plutôt que de changer de boîtier.
Le tracker : une autre option pour obtenir un ciel plus propre à faible ISO
Un tracker est un petit dispositif motorisé qui compense la rotation de la Terre. Il permet d’effectuer des poses longues à ISO réduit, ce qui donne :
- moins de bruit
- plus de détails
- des couleurs plus propres dans le ciel nocturne
C’est une méthode très efficace pour obtenir des nightscapes de qualité.
✔ Le seul inconvénient : les pixels chauds
Lors des poses longues, le capteur chauffe et génère des pixels défectueux visibles sur l’image.
Deux solutions permettent de les éliminer :
- Corriger les pixels chauds en post-traitement (ex. Lightroom, Camera Raw)
- Activer la réduction du bruit longue pose :
- l’appareil capture une seconde photo « dark frame »
- les pixels chauds sont automatiquement retirés
- le résultat final est propre et homogène
APS-C ou Full Frame : lequel choisir pour l’astrophotographie ?
En résumé :
✔ Le Full Frame
Plus performant en haute sensibilité, idéal pour ceux qui veulent :
- des photos propres en prise unique
- la meilleure gestion de la lumière
- un maximum de dynamique
✔ Le APS-C
Capable de résultats professionnels, à condition d’utiliser les bonnes techniques :
- Empilement avec Sequator pour éliminer le bruit
- Tracker pour poser plus longtemps à faible ISO
- Réduction du bruit longue pose pour supprimer les pixels chauds
Grâce à ces méthodes, l’APS-C devient une alternative sérieuse et économique au plein format, idéale pour débuter et progresser en photographie nocturne.